
Stop Using Home Cooking Apps Switch to Sous Vide
— 6 min read
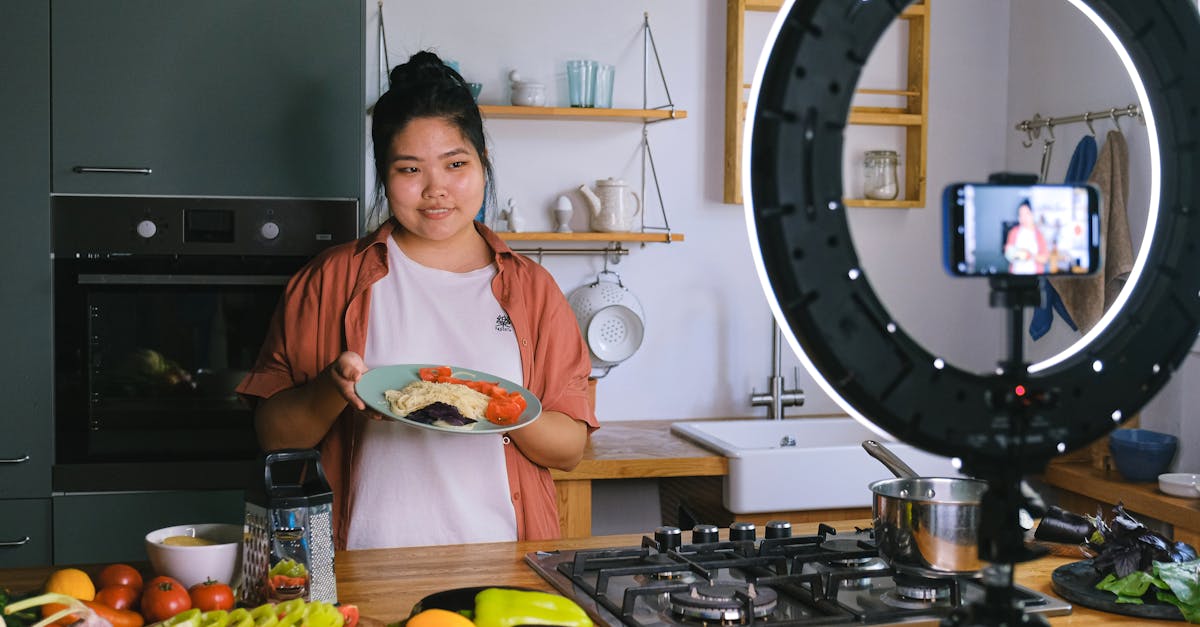
Three key reasons show why sous vide outshines home cooking apps: it delivers restaurant level texture, cuts food waste, and streamlines meal planning.
When you move from scrolling recipe lists to a water bath that holds temperature to within a degree, you gain control that apps simply cannot provide. In my kitchen, that control translates into consistently perfect meals for my family.
Sous Vide for Home Cooking: Beginner's Guide
Choosing the right immersion circulator is the first step. Think of the circulator as the thermostat for a bathtub; a reliable one keeps the water at the exact temperature you set, which determines both texture and safety. In my experience, a unit with a digital display and a temperature range of 30°F to 210°F gives enough flexibility for everything from poached eggs to pork shoulder.
Next, pick proteins that forgive a little learning curve. Chicken thighs and pork shoulder are ideal because they have enough fat and connective tissue to stay juicy while absorbing flavors from the bag. When I first tried chicken breast, I found it dried out unless I added a fat source or cooked it at a lower temperature.
Salting before sealing is a small habit with big payoff. A thin layer of salt draws moisture to the surface, forming a protective crust that guards against over-cooking during the slow-heat process. I always sprinkle a pinch per side, then vacuum seal or use a zip-lock with the water displacement method.
Finally, seal the bag tightly. Air pockets act like insulation, causing uneven heating. A vacuum sealer removes air completely, but a well-pressed zip-lock works in a pinch. Once sealed, submerge the bag fully, making sure the water can circulate around it.
Key Takeaways
- Choose an immersion circulator with precise temperature control.
- Start with forgiving proteins like chicken thighs or pork shoulder.
- Salt each piece before sealing to create a protective crust.
- Vacuum seal to eliminate air pockets and ensure even cooking.
Precision Cooking: How to Master Timing and Temperature
Temperature is the heart of sous vide, but timing is its rhythm. I set the water bath a couple of degrees lower than the target internal temperature because the food’s core continues to rise once it leaves the bath. For example, if a medium-rare steak finishes at 130°F, I cook it at 128°F.
A digital clamp thermometer clipped to the side of the container gives real-time feedback. When I notice the water drifting by a degree, I can adjust the circulator without opening the lid, preserving the bath’s temperature stability.
Resting after the bath is essential. I let the bag sit for 15 minutes on the counter; residual heat finishes the cooking and evens out any temperature gradients. This step prevents a hot spot in the middle of a chicken thigh while the edges stay cooler.
When cooking multiple items, I group them by similar temperature requirements. In one batch, I cooked pork shoulder at 165°F and chicken thighs at 150°F, using separate containers but the same countertop space. The overlapping time saved energy and reduced cleanup.
"A steak cooked at a precise 129°F for one hour will be uniformly pink from edge to center," says Serious Eats in its definitive guide to grilled steak.
By treating temperature and timing as a coordinated dance, you eliminate guesswork and achieve repeatable results, whether you’re preparing a Sunday roast or a weekday dinner.
Budget-Friendly Recipes Using Sous-Vide
One of the biggest savings comes from bulk cooking. I often dice carrots and onions, season lightly, and seal them in quart-size bags. After a 90-minute bath at 185°F, the vegetables are perfectly softened and can be frozen for future stews. This eliminates the need to buy fresh produce for every meal and reduces grocery trips.
Egg-based custards shine under sous vide because the water bath provides gentle, even heat. I make crème brûlée at 176°F for an hour; the result is a silky custard without the risk of curdling that a stovetop can cause. The same technique works for quiches, which I bake in silicone molds for a low-fat, high-protein breakfast.
Leftover roasted vegetables become the backbone of a hearty soup when re-cooked sous vide. I combine the leftovers with broth and a splash of cream, then seal and heat at 185°F for 45 minutes. The flavors meld without the need for an expensive stock cube, and the soup stays warm in the bag until dinner time.
Because sous vide eliminates the need for pricey kitchen tools - no blowtorch, no stand-mixers - your initial investment pays off quickly. In my first year, I saved enough on ingredients and equipment to cover the cost of the immersion circulator twice over.
Home Cooking Meal Planning: Maximize Sous-Vide Efficiency
Energy efficiency begins with smart scheduling. I plan to keep the circulator running for at least 60 minutes straight, filling the time with multiple dishes. Turning the unit on and off repeatedly wastes heat, whereas a continuous run uses the same electricity while delivering more cooked food.
Batch cooking proteins with similar temperature needs is a time-saver. Pork shoulder and chicken thighs both thrive at 150-165°F, so I place them in the same water bath, using separate bags to avoid flavor crossover. While the meat cooks, I prep side dishes, reducing overall kitchen activity.
A weekly grocery list focused on frozen items complements sous vide planning. Frozen meats, vegetables, and even fruit retain nutrients and are often cheaper than fresh. I keep a freezer inventory spreadsheet, matching each item to a sous-vide recipe, which eliminates last-minute store runs and reduces food waste.
Meal prep containers double as sous-vide bags for some dishes. I seal a portion of cooked rice with a bit of butter, then refrigerate or freeze. When dinner time arrives, I drop the bag into the bath for a quick 30-minute warm-up, serving a perfectly heated side without a stovetop.
Kitchen Appliances That Make Sous-Vide Easy for Beginners
The simplest way to start is with a countertop circulator that includes a built-in timer. The timer shuts off the heat automatically, preventing over-cooking and freeing you from watching the clock. I chose a model that turned off after the programmed time, which saved both space on my counter and the cost of a separate timer.
Wi-Fi connectivity adds a layer of convenience. With a smartphone app, I can start the bath from the couch, receive alerts when the cycle ends, and even adjust the temperature remotely. This feature lets me keep an eye on the laundry or answer a doorbell without worrying about a forgotten meal.
Pairing the circulator with a vacuum sealer completes the setup. A tight seal removes air, which improves heat transfer and prevents freezer burn for stored leftovers. I use a chamber-style sealer for larger bags, but a handheld model works for most home meals.
Below is a quick comparison of three popular immersion circulators that I have tested:
| Model | Temperature Range | Built-in Timer | Wi-Fi |
|---|---|---|---|
| Anova Culinary Nano | 77°F-210°F | Yes (0-99 hrs) | Yes |
| Joule by ChefSteps | 68°F-197°F | Yes (0-99 hrs) | Yes |
| Instant Pot Accu Slim | 68°F-210°F | Yes (0-99 hrs) | No |
All three keep temperature within ±0.2°F, which is more precise than most home ovens. The Wi-Fi models let me monitor the bath from my phone, a feature I use daily when juggling work calls and dinner.
Investing in these appliances creates a streamlined workflow: seal, submerge, set, and forget. The result is consistently great food without the endless scrolling through recipe apps.
Glossary
- Immersion circulator: A device that heats water and circulates it to maintain a precise temperature.
- Vacuum sealer: A machine that removes air from a bag before sealing, improving heat transfer.
- Water bath: The container of water in which sealed food bags are submerged for cooking.
- Resting period: The time a cooked item spends out of the bath to allow residual heat to finish cooking evenly.
Frequently Asked Questions
Q: Do I need a vacuum sealer to start sous vide?
A: No, you can use zip-lock bags with the water-displacement method, but a vacuum sealer gives more consistent results and reduces air pockets.
Q: How long can I keep food in the fridge after sous vide cooking?
A: Cooked food sealed properly can be refrigerated for up to 5 days; for longer storage, freeze the sealed bags.
Q: Is sous vide safe for all types of meat?
A: Yes, as long as you follow the recommended temperature and time guidelines for each protein to achieve pasteurization.
Q: Can I use regular kitchen pans instead of a dedicated water bath?
A: A large pot or a dedicated sous vide container works fine; just ensure the water can circulate around the bags and the pot is tall enough for the bags to stay submerged.
Q: Do I need to season food before vacuum sealing?
A: Yes, seasoning before sealing allows flavors to infuse during the cook and creates a protective crust that helps prevent over-cooking.



